At East Texas Refrigeration, we understand how important it is to seal your home. In Tyler and nearby east Texas communities, it can be downright hot in summer and cold in the winter. What can you do to make sure you are staying comfortable in your home and not wasting money on higher energy bills?
Sealing your home not only helps make your house warmer in winter and cooler in summer. It can also save you a lot of money on heating and cooling costs. Also, you can do it yourself!
(If sealing your home yourself isn’t an option, you can get an energy audit from a local utility company who offers the service, or you can hire a certified energy auditor for a full diagnostic on your home.)
Not only is it important to seal your house for comfort, but it will also save you a lot of money. According to the EPA, sealing your home can cut your utility costs by up to 15%! That can add up to substantial annual savings.
Here are some ways to DIY seal your home and lower your electric bill at the same time!
-
Find Where Air is Leaking
The first step to sealing your home is finding where the air is leaking. Some places are more obvious, such as windows and the bottoms of doors where a cold air draft is easy to feel. But it’s also important to seek out the areas that aren’t so obvious.
The hard-to-reach places are often the spots with the most leaks. These include basements, crawl spaces, and attics. While it’s no fun to crawl around in those spaces, spending a little extra time could save you a lot of money, as well as improving your overall air quality.
Once you’ve figured out where the leaks are, then you can take steps to repair and seal.
-
Seal Your Windows
Windows, and the areas around them, are a major culprit when it comes to air leakage. Especially older windows that don’t seal properly. Because of moisture, the area around the window may be warped and letting in air. If your home/windows are older and it’s within your budget, it’s a good idea to replace the windows with new ones that seal properly.
If you’re sticking with the older windows, you can use caulk or weatherstripping to seal up problem areas. Just taking steps to have sealed windows can make a big difference in how high you have to set your thermostat on cold days.
Ventilation in your home is essential, but make sure it’s coming from where you want it to!
-
Seal Less Obvious Areas (Ducts, Vents, Outlets)
Caulk and seal areas where cold or hot air leaks in areas you wouldn’t expect, such as ductwork, vents, where wires come in, and in areas with plumbing entering the house. These spaces are often overlooked but can contribute significantly to air leaks.
Carefully check over these places in your home. Use caulking, foam spray, or foil tape to fill in any holes or cracks you find.
Other areas people don’t often think of are wall outlets. Placing plastic child protectors in the outlets when they’re not being used prevents air from leaking through.
Recessed lights are another spot people usually wouldn’t think of. These lights typically vent directly into an attic or crawl space, creating a place for an air leak. Lightbulbs are available to help combat this issue. Look for ICAT on the label, which stands for “insulation contact and airtight”.
-
Check Your Heating and Cooling Appliances
The exact appliances we use to help keep our homes warm or cold are also often the culprits for air leaks. Your furnace or AC unit might be a big contributor to air leakage in your home. Check the areas around where they enter the house. Often, you’ll find there is space for hot or cold air to enter. Use caulking or foam spray to fill in the gaps.
Pay special attention to the areas around central air units, as they sometimes aren’t fitted exactly as they should be, allowing air to escape.
The same goes for wall mounted heaters. It doesn’t do much good to be pumping heat in, if it’s then escaping around the edges!
-
Inspect the Exterior of Your Home
Carefully go over the exterior of your home and check for gaps where air might come in- especially areas where the roof connects to the siding, where a chimney enters, and where the foundation of the house meets the sides. Foundations are especially vulnerable to cracks or gaps. These spaces are often overlooked, but any area where a “joining” occurs, there is the possibility of an air leak.
Caulking usually does the job, but you can also use foam in places that are too wide for caulking.
-
Don’t Forget to Look Up – Vents and Skylights
HVAC technicians will tell you, one of the biggest places for leaks are often right above our heads. Perhaps because of this, areas such as vents, skylights, and exhaust fans are often overlooked. Skylights are notorious for leaking both air and water if not sealed properly.
-
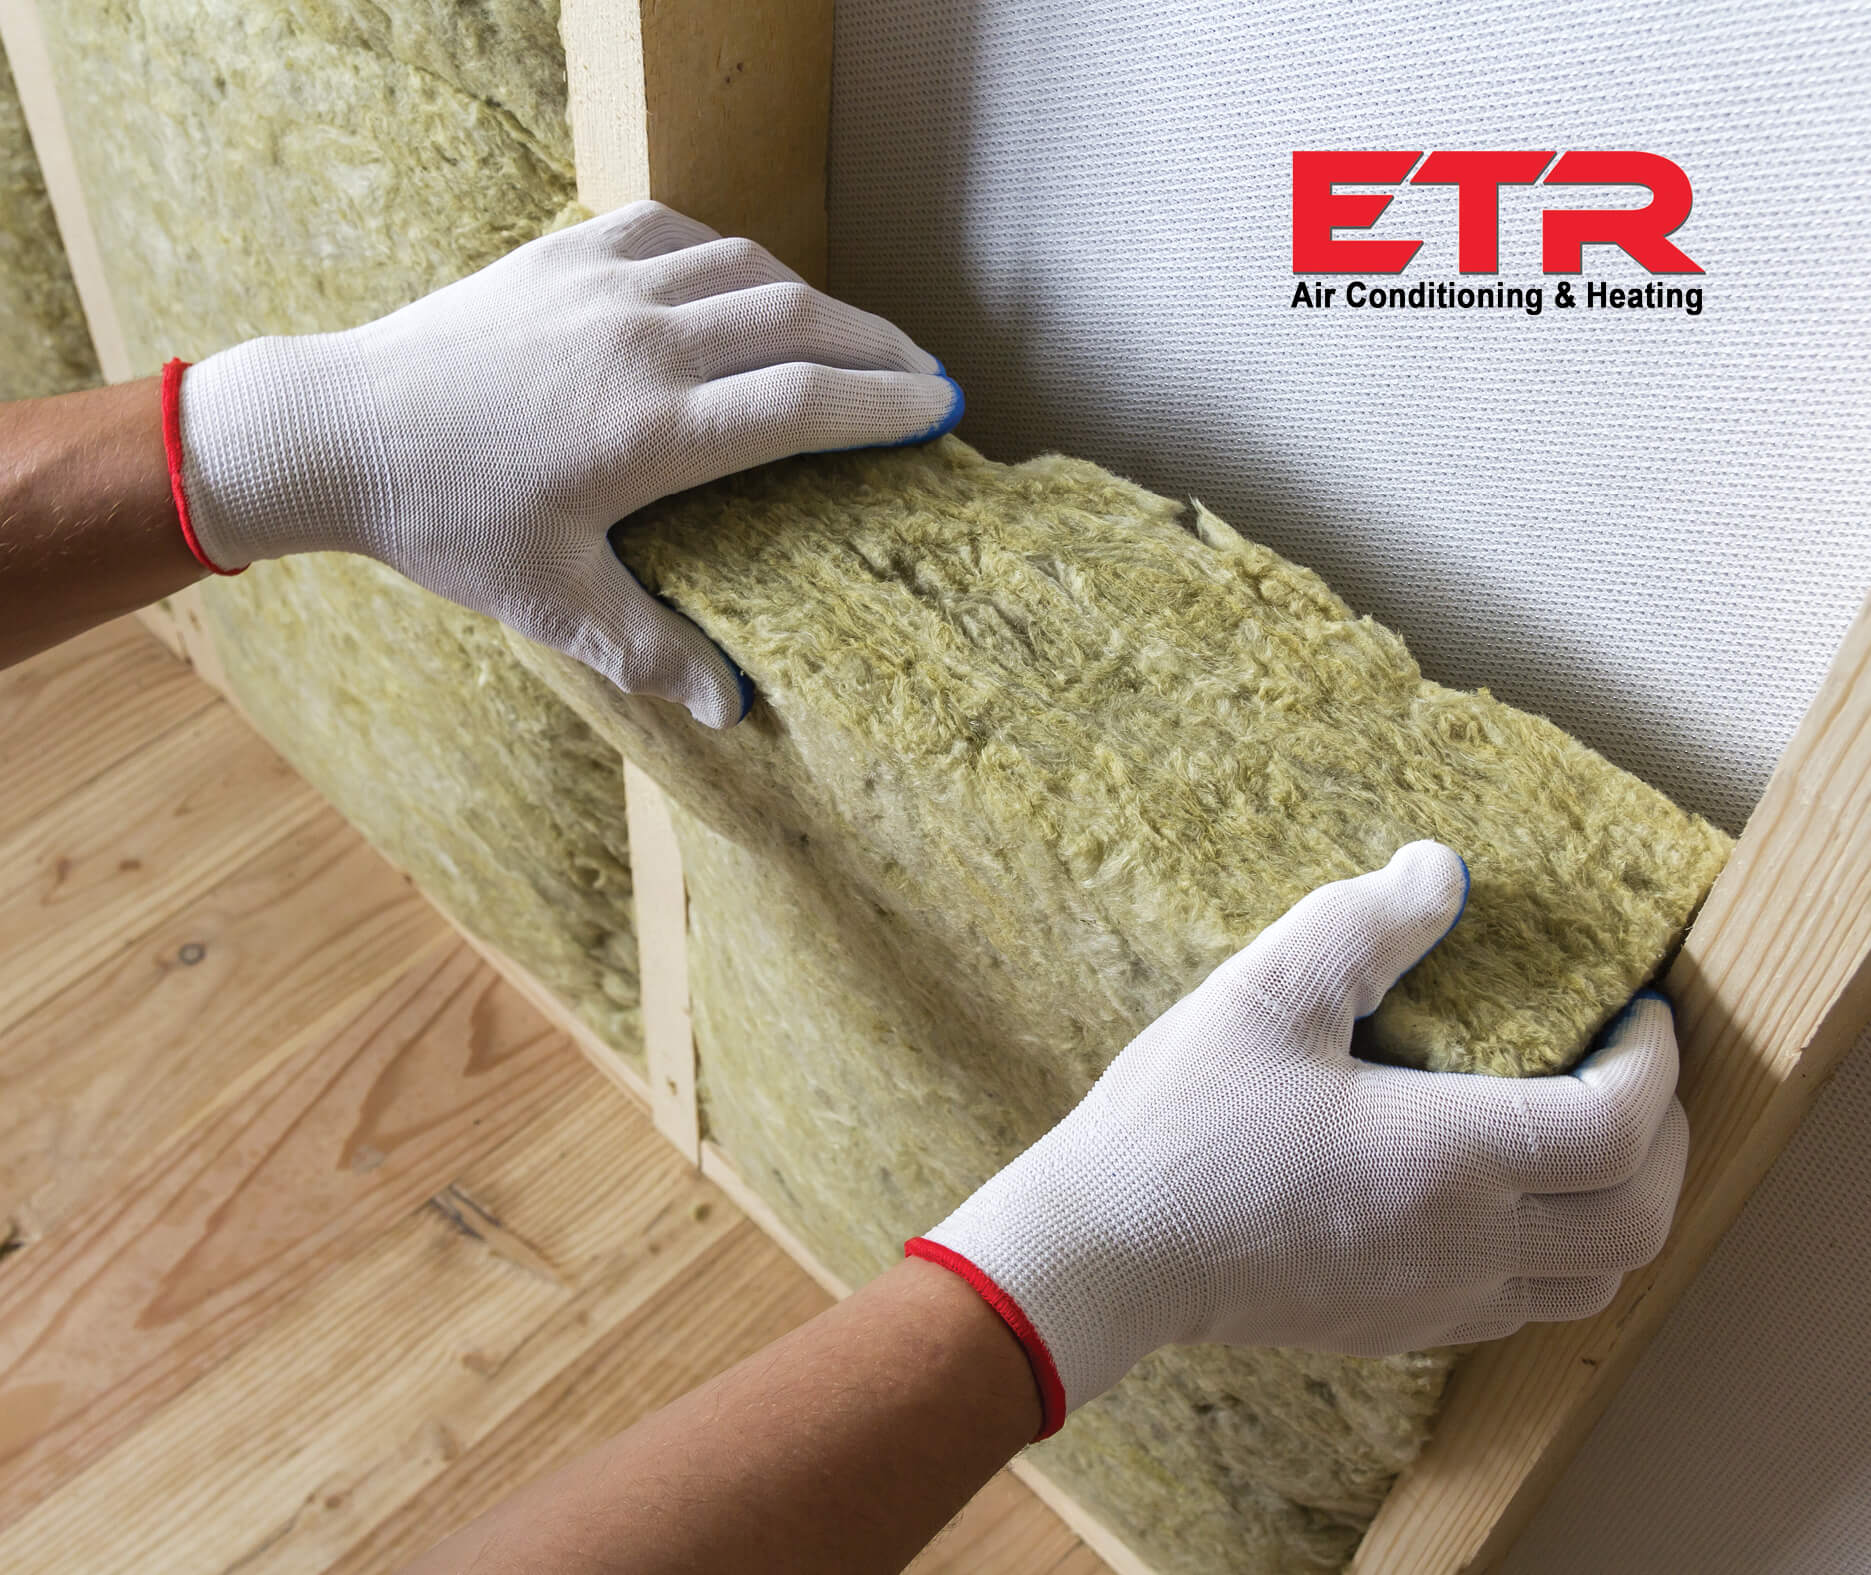
Seal Your Attic and Basement
Attics and basements are two of the biggest culprits for air leakage. They’re spaces we don’t frequent regularly, and so it’s easy to miss what’s going on in them. They’re also where most of the joining occurs, meaning there’s a higher chance of gaps. Use caulking and spray foam to seal along edges. Additionally, use spray foam in areas where there are joints or studs to help keep air from escaping.
Sealing your home is an investment in better quality air and lower utility bills. Taking these simple steps ensures a more comfortable living environment.
Give ETR a call and we will be happy to offer more suggestions for sealing your home and making sure that you are staying comfortable in your house while saving money on utility bills.